If you’ve ever uploaded images to your website, you’ll know how important it is to learn how to crop and compress images. You don’t want to waste your time, and you certainly don’t want to upload giant images to your website. Here’s how to crop and compress images for the web.
Why Should You Learn How to Crop and Compress Images?
Image files are made up of lots of data that can make your files massive. For example, when you download an image from unsplash.com, that image might be 8MB or 12MB or even more! Adding an image of that size to your website will drastically affect your page load speeds. And we all know that slow page loading means a negative user experience. It also means that Google and other search engines will view your pages negatively, impacting your search results rankings.
Additionally, uploading images of different dimensions can make your site look messy if you aren’t using those images intentionally. That’s why it’s important to know how to crop and compress images so that they will provide a consistent look to your site and keep your site running quickly.
Step 1: How to Crop Your Images
Once you have the high quality photo you want to use on your site, it’s time to make it the right dimensions. In our example, we’re going to crop our image into a square. I’m using this 8.5MB photo as an example.
Start by going to the image cropping tool at imageresizer.com.
Once there, upload your image, choose your aspect ratio (in our example, we’ll choose 1:1 Square), and then make your selection. Click the big blue “Crop” button, and you’re done! Here’s what that process looks like:
Step 2: How to Compress Your Images
Now that you have an image that is the right dimensions, let’s reduce that file size!
Go to compressimage.io.
Before uploading your image, select your options by clicking the little settings icon. Here are the settings I often recommend, but you may want to adjust them for your specific needs:
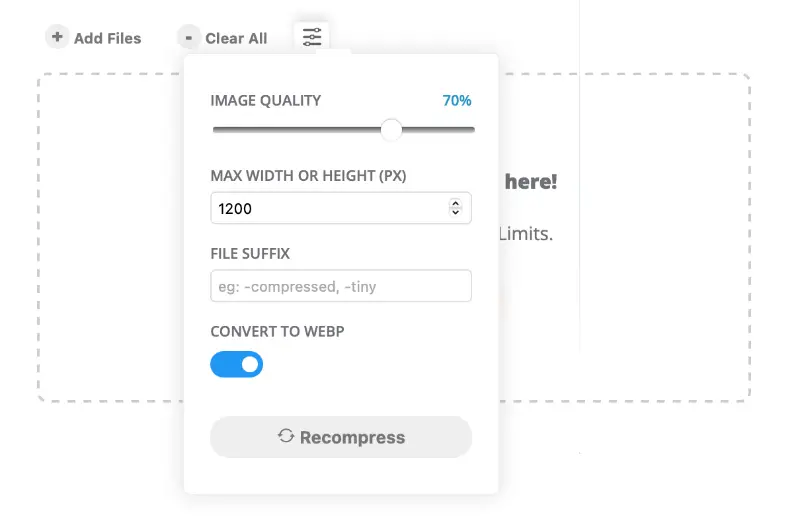
Once you have your settings in place, simply drop your image(s) onto the screen. Your image(s) will be compressed quickly, and you can download a single image or a zip file of multiple images at once. Here’s what that process looks like:
In our example image, the file started out at 8.5MB. After cropping and compressing it, the image file is now a mere 122KB! That’s a massive reduction in file size, but the quality is still great. Check it out:

Now You Know How to Crop and Compress Images for Your Site
That’s it! Now you know how to crop and compress images for the web. No more giant images slowing down your website.